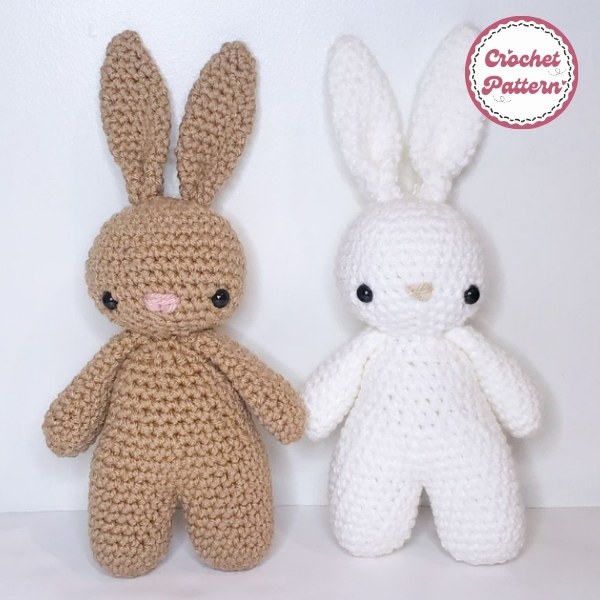
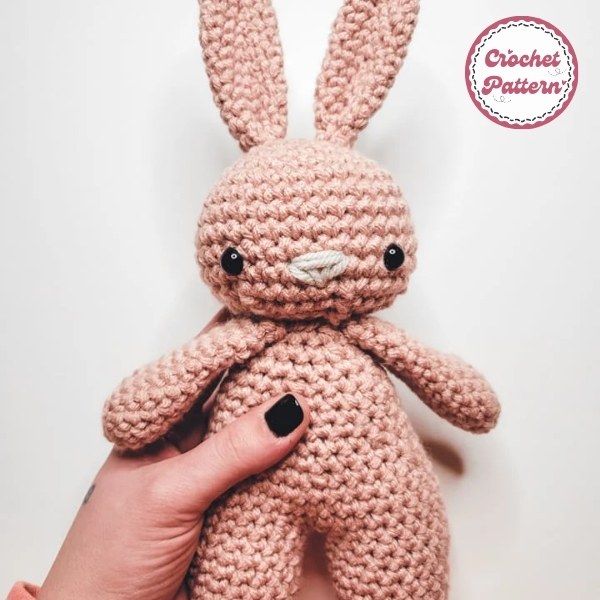
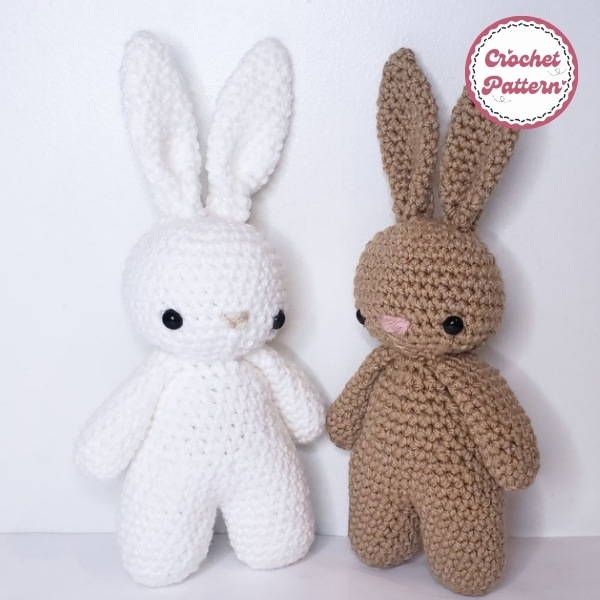
If you are looking for a detailed tutorial on how to make a Rabbit Free Crochet Pattern, this is the ideal destination for you. This rabbit will be a lovely and charming friend and a great gift for children. This stuffed rabbit is the perfect companion for those who are new to handmade crafts. With a simple design, it will only take you about an hour to complete. Imagine the joy of seeing the rabbit made by hand, placed next to other amigurumi rabbits or playing with children, isn’t it wonderful?
This crochet rabbit is one of our Amigurumi animals. We also have other patterns. Check for extra inspiration.
- Snoopy Crochet Pattern
- Bluey Crochet Pattern
- Baby Bunny Crochet Pattern
- Mini Santa Claus Crochet Pattern
- Poky Ball Crochet Pattern
How to create a Rabbit Free Crochet Pattern

Creating your own crochet pattern can be a fun and rewarding experience, especially when it’s for something as adorable as a rabbit! Whether you’re a seasoned crocheter or a beginner eager to learn, crafting a unique design allows you to personalize every detail. Plus, sharing a free pattern is a great way to give back to the crafting community.
Let’s dive into the step-by-step process to create your very own rabbit crochet pattern!
Before you begin, gather the following supplies:
- Yarn: Choose a soft, durable yarn in your preferred color(s).
- Hook: The size depends on your yarn, typically 2.5mm–4mm for amigurumi.
- Stuffing: Polyester fiberfill works best.
- Tapestry needle: For sewing pieces together.
- Safety eyes: Or use embroidery for child-safe designs.
- Scissors: A sharp pair is essential for clean cuts.
Familiarize yourself with these foundational stitches:
- Magic Ring: Used to start most amigurumi projects.
- Single Crochet (sc): The primary stitch for amigurumi.
- Increase (inc): Adding stitches to widen your work.
- Decrease (dec): Reducing stitches to shape your piece.
Rabbits are beloved for their cute, huggable shape and timeless appeal. From Easter decor to whimsical toys, a rabbit pattern offers endless creative opportunities. Whether you prefer realistic designs or cartoonish features, this versatile animal is perfect for crocheters of all levels.
Chart Instructions Rabbit Free Crochet Pattern

Head:
- MR, 6 SC in MR (6)
- 2 SC in each SC around (12)
- 1 SC, INC repeat 6 times (18)
- 2 SC, INC repeat 6 times (24)
- 3 SC, INC repeat 6 times (30) 6-7. 30 SC
- 3 SC, DEC repeat 6 times (24)
- 2 SC, DEC repeat 6 times (18)
- 1 SC, DEC repeat 6 times (12)
- Stuff firmly.
- 6 SC, pull tight and fasten off, leaving a long tail for sewing.
Ears (Make 2):
- MR, 2 SC in MR (2)
- 2 SC in each SC around (4)
- 4 SC
- 3 SC
- 2 SC
- 1 SC, fasten off.
Body:
- MR, 6 SC in MR (6)
- 2 SC in each SC around (12)
- 1 SC, INC repeat 6 times (18) 4-5. 18 SC
- 1 SC, DEC repeat 6 times (12)
- Stuff firmly.
- 6 SC, pull tight and fasten off, leaving a long tail for sewing.
Tail:
- MR, 6 SC in MR (6)
- 6 SC
- Stuff firmly.
- 6 SC, pull tight and fasten off.
Assembly:
- Sew the ears to the top of the head.
- Sew the head to the body.
- Sew the tail to the back of the body.
- Embroider the eyes and nose with black yarn.
Optional:
- Add a scarf or a bow.
- Use different colors for the body and ears.
- Experiment with different yarn weights and hook sizes.
Tips:
- Don’t stuff too tightly, or your rabbit may look lumpy.
- Use a tapestry needle to sew the pieces together neatly.
- Have fun and be creative!
Conclusion
Creating a rabbit crochet pattern is an exciting way to express your creativity and share it with others. Whether you keep it simple or go all-out with accessories, the possibilities are endless. So grab your hook and yarn, and start designing your one-of-a-kind rabbit!

