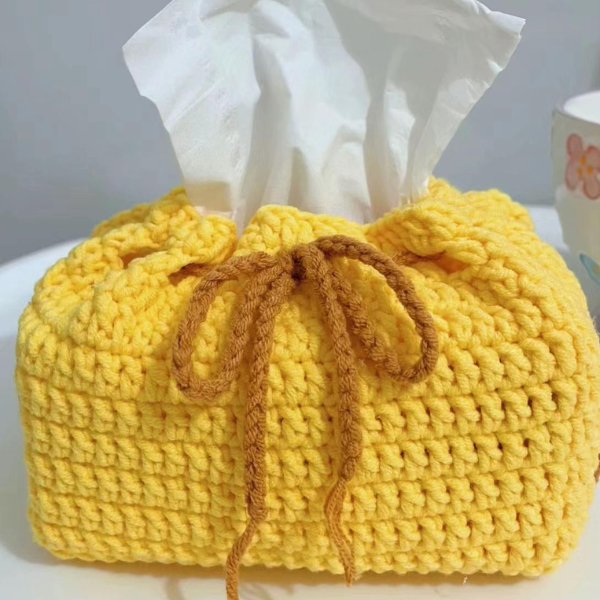
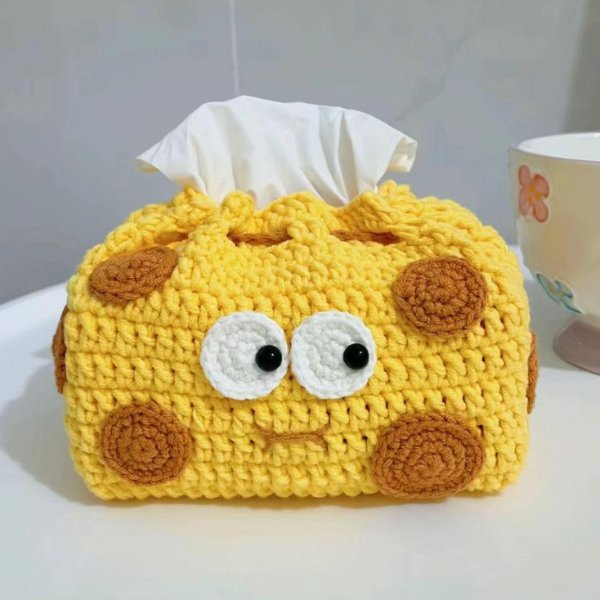
Crocheting your own paper storage box crochet pattern can be a rewarding project that not only provides a practical solution for organizing your papers. But also adds a handmade touch to your home decor. In this comprehensive guide, we’ll walk you through the process step-by-step, ensuring you have all the information you need to create a beautiful and functional storage box.
How to create Paper Storage Box Crochet Pattern

Paper Storage Box Crochet Pattern creates a box perfect for storing letters, notepads, or other small paper items. It’s a great project for beginners and experienced crocheters alike. You can customize the size and colors to match your needs and décor.
Materials
Before you start, gather the following materials:
- Worsted weight yarn in two colors (amount depends on desired size)
- Crochet hook appropriate for yarn weight (typically size H/8 or I/9)
- Yarn needle
- Cardboard (optional, for added rigidity)
- Scissors
Selecting the right yarn is crucial for this project. You’ll want something that is durable and can maintain the structure of the box.
Stitches:
- Single crochet (sc)
- Double crochet (dc) (optional)
- Slip stitch (sl st)
Notes:
- Chain 1 (ch 1) does not count as a stitch unless otherwise specified.
- Gauge is not crucial for this project, but swatching is recommended to get a feel for the size of your finished box.
See more crochet pattern: Cute Capybara Keychain Crochet Pattern
Chart Instructions
To crochet the Paper Storage Box Crochet Pattern yourself, you need to crochet each part and then combine them into a complete crochet. Let’s go to the body chart first.
Body:
- R1: 28ch, turn the chain over, hook on the protruding part of the chain from the 3rd chain point from needle 26f
- R2-R10: Hook up 3ch, flip hook 26f
- R11: Crochet 1 loop around the piece of wool you just crocheted, 25f, fv, 19f, fv, 24f, fv, 20f
- R12-19: 94f
- R20. 2f, 2ch, k2, repeat to end of row
- R21. 94f
Eye:
- R1: MR 6x
- R2: 6v
- R3: 6(x, v)
Brown spots: Small spots like eyes, large spots hook one more row. Then crochet 6(2x, v).
Enjoy crocheting! This is a basic pattern, and you can customize it in many ways! To finish crocheting, you need to weave in any remaining yarn ends and make sure all parts are securely attached. This pattern is a great base to customize!
Enjoy your crochet project! In addition, you can refer to many other crochet patterns from Fanycrafts at the All Crochet Patterns blog.
Conclusion
Creating a paper storage box crochet pattern is a fun and rewarding project. By following these steps, you can craft a unique and functional piece that adds a touch of handmade charm to your home. Don’t be afraid to experiment with different designs and customizations to make it truly your own.

