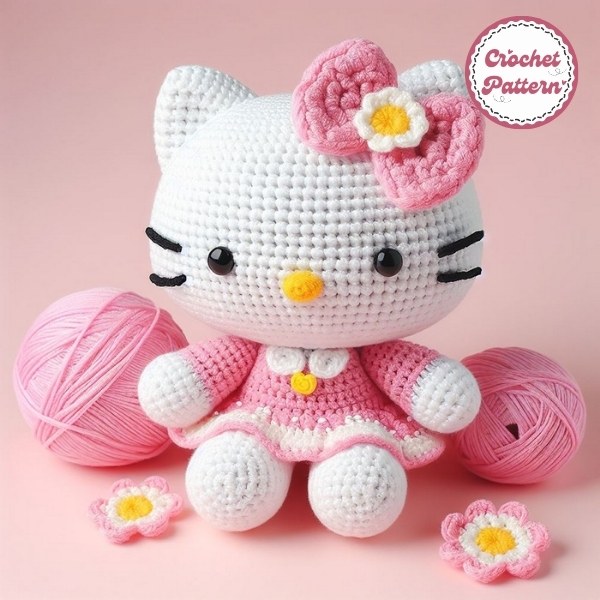
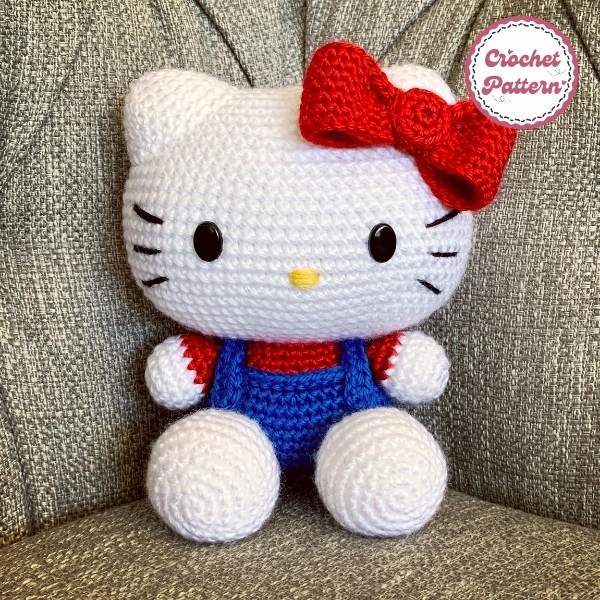
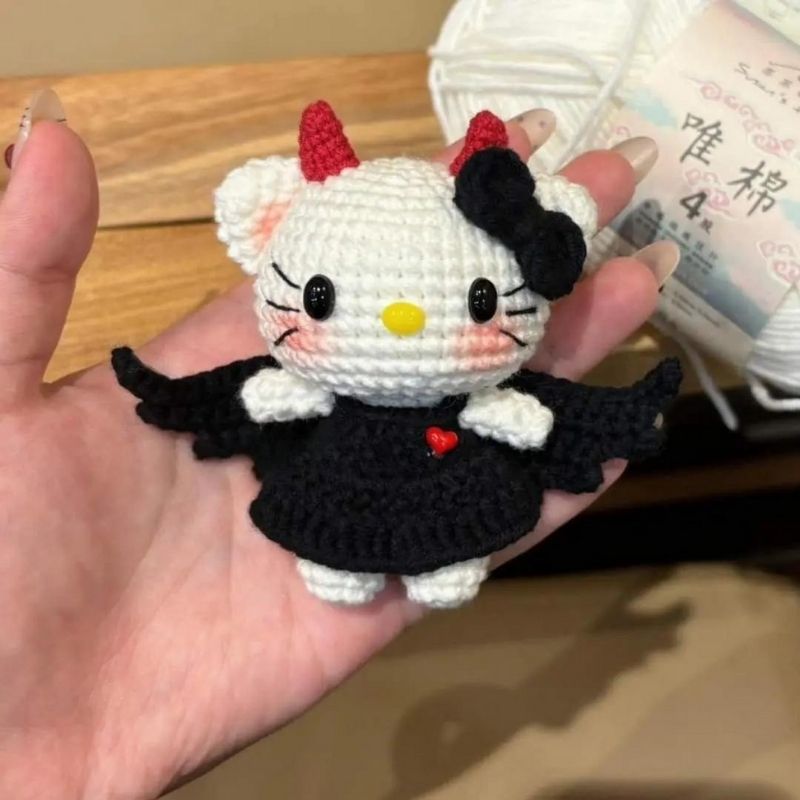
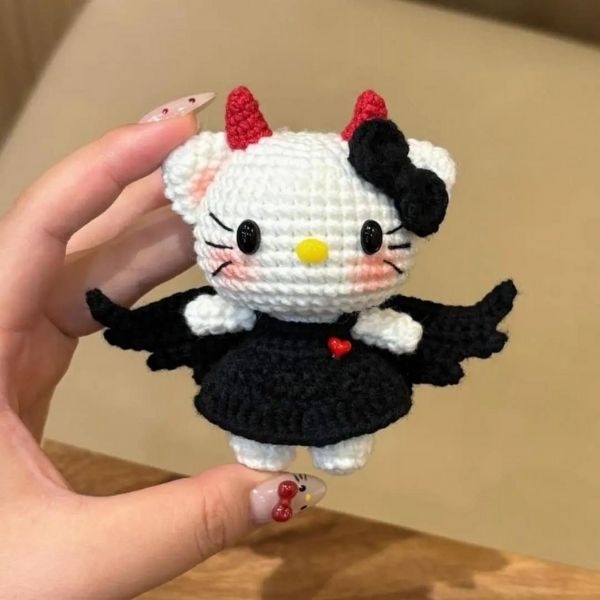
Creating a Hello Kitty Devil crochet pattern adds a fun, playful edge to the traditional design, combining cute with a little bit of devilish charm! Whether you’re making it for Halloween or just to add something unique to your collection, the Hello Kitty Devil Crochet Pattern is a creative way to show off your crochet skills. Let’s dive into the steps to create this adorable yet devilish character.
What is Hello Kitty?

Hello Kitty is a popular fictional character created by the Japanese company Sanrio. She is a small, round-faced, cartoon catlike girl with black eyes, a yellow nose, no mouth, and a red bow perched on her left ear. Hello Kitty is one of the most recognizable characters in the world, and her image can be found on a wide variety of products, including toys, clothing, and stationery.
Hello Kitty is a beloved character who has captured the hearts of people of all ages around the world. She is a symbol of innocence, friendship, and happiness.
Here are some interesting facts about Hello Kitty:
- She is not a cat. Despite her appearance, Hello Kitty is actually a little girl.
- Her full name is Kitty White.
- She was born in London.
- She has a twin sister named Mimmy.
- She loves apples.
- She has a pet cat named Charmmy.
How to create Hello Kitty Devil Crochet Pattern?

Hello Kitty crochet projects are loved by people of all ages, but have you ever thought about giving this sweet little character a mischievous twist? Before we dive into the pattern, let’s visualize the Hello Kitty Devil character. She’s typically depicted as a cute, innocent Hello Kitty with devil horns and a tail. We’ll aim to capture her essence in a crochet design.
Materials Needed
Before starting your Hello Kitty Devil crochet, make sure you have all the required materials:
- Crochet Hook: A 3.5mm or 4mm hook is ideal.
- Yarn:
- White for Hello Kitty’s head and body.
- Red for the devil horns and tail.
- Black for her eyes and whiskers.
- Optional: Dark red or black for a devil outfit.
- Stuffing: Polyester fiberfill to stuff the body, head, and limbs.
- Safety Eyes: Size 6mm-8mm.
- Yarn Needle: For sewing parts together and weaving in ends.
- Scissors: To trim excess yarn.
Basic Crochet Stitches
If you’re new to crochet or need a quick refresher, these basic stitches will form the foundation of your Hello Kitty Devil crochet pattern:
- Single Crochet (sc): The single crochet stitch (sc) is dense and commonly used for amigurumi projects like this one.
- Double Crochet (dc): The double crochet adds height to stitches and is great for making devilish details like horns or the tail.
- Magic Ring (mr): The magic ring technique is key for starting your crochet in the round, used for the head, body, and limbs.
- Increase and Decrease Stitches: Increasing adds stitches to grow your pattern, while decreasing reduces stitches to shape and sculpt areas like the head or body.
- Chain (ch): The foundation stitch.
Explore more crochet pattern: Cute Star Crochet Pattern
Chart Instructions Hello Kitty Devil Crochet Pattern

A typical Hello Kitty crochet pattern includes instructions for the head, body, arms, legs, and ears. For the devil theme, you’ll add specific modifications like horns, a tail, and maybe even a devilish outfit!
The devil theme is all about adding some mischief to the cuteness of Hello Kitty. Red yarn is essential for making horns and a tail, while you can also design a small devilish outfit for her. Don’t be afraid to get creative and add your personal touch! Here is the Hello Kitty Devil Crochet Pattern implementation.
Head:
- R1: 6x
- R2: 6v
- R3: 6(x, v)
- R4: 6(x, v, x)
- R5: 6(3x, v)
- R6: 6(2x, v, 2x)
- R7: 6(5x, v)
- R8-15: 42x
- R16: 6(5x, a)
- R17: 6(2x, a, 2x)
- R18: 6(3x, a)
Hand x2: R1-4: 6x
Ears x2:
- R1: 6x
- R2: 3(x, v)
- R3: 3(x, v, x)
- R4: 3(3x, v)
Horn x2:
- R1: 5x
- R2: 2(x, v), x
- R3: 2(2x, v), x
- R4: 2(3x, v), x
- R5: 11x
Leg and Body:
- R1: 6x
- R2: 6v
- R3-6: 12x 2-pin connector
- R7: 24x
- R8-10: 24x
- R11: 6(x, a, x)
- R12-14: 18x
Cánh x2: Oval hook
- R1: 6ch, l, 4x, slst, 2x, v, x
- R2: 4ch, k2, 5x, v, x, slst, x, v, 6x
- R3: 4ch, k2, 8x, v, 2x, slst, x, v, 10x
- R4: 4ch, k2, 12x, v, 2x, slst
Dress:
- R1: 23ch, k, 22x
- R2-3: 22x
- R4: 11(f, fv)
- R5: 11(f, fv, f), fold and sew
Once everything is stitched together, use a yarn needle to weave in any loose ends, giving the final touches to make your Hello Kitty Devil look neat and polished. Enjoy your crochet project! In addition, you can refer to many other crochet patterns from Fanycrafts at the All Crochet Patterns blog.
Customizing Your Hello Kitty Devil
Don’t limit yourself to red and white. You can use other color schemes like purple or black to create a more unique Hello Kitty Devil. Experiment with yarn textures like metallic yarn to add some sparkle!
Why stop at horns and a tail? Add devil wings or a small crochet pitchfork to complete the devilish look. You can even crochet a small headband for a mix of cute and mischievous.
Conclusion
Creating a Hello Kitty Devil crochet pattern is a fun and rewarding project that adds a mischievous twist to the classic character. Whether you’re making it for Halloween, as a gift, or just for fun, this pattern allows you to showcase both your crochet skills and creativity.

