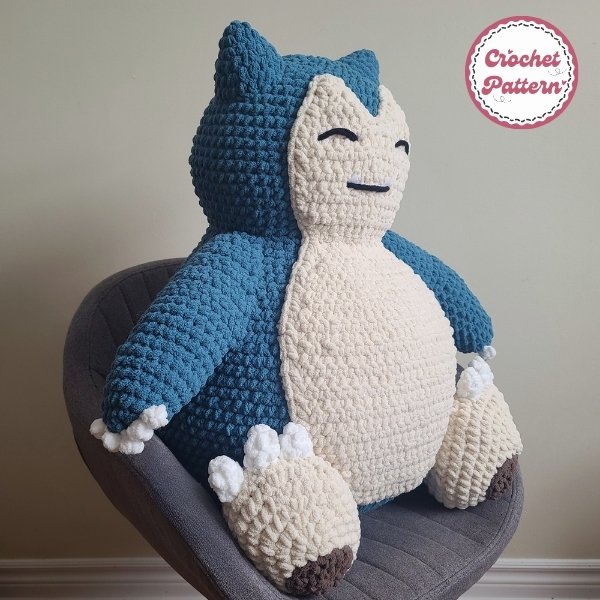
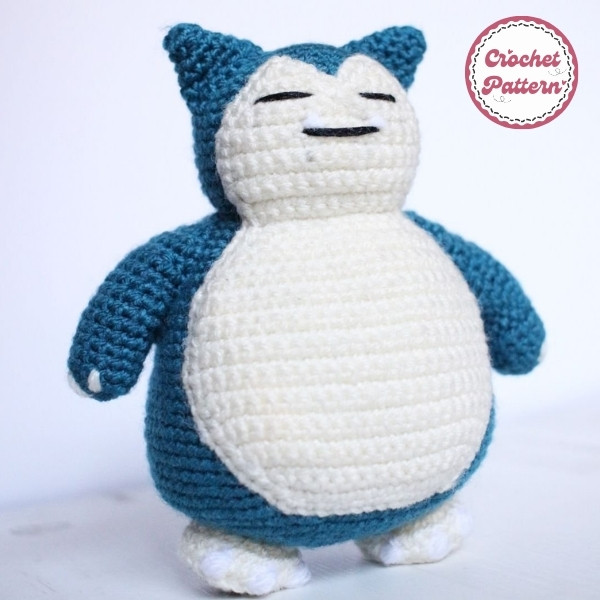
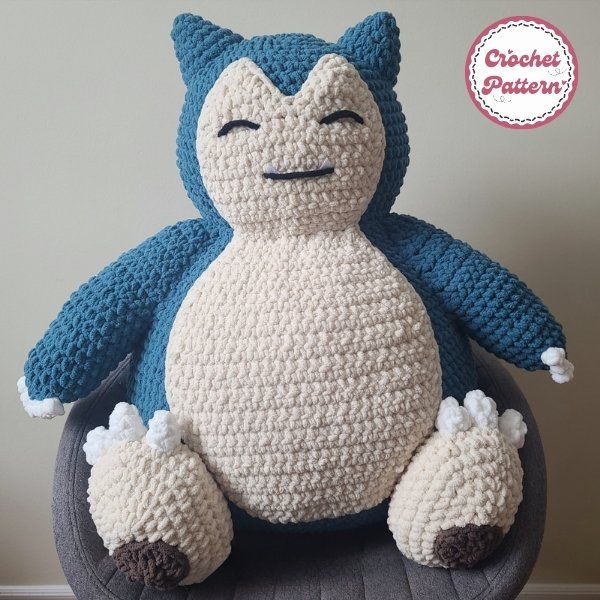
As a fan of the Pokemon cartoon, you certainly cannot forget the special pokemon Snorlax with a large and somewhat adorable body. Today, Fanycrafts will guide you on how to create a cute Snorlax Crochet Pattern with a very unique crochet. It is suitable for all ages and is very suitable as a gift for everyone.
Snorlax Crochet Pattern Crochet Pattern is one of our Amigurumi. We also have other patterns. Check for extra inspiration.
- Positive Potato Crochet Pattern
- Leggy Frog Crochet Pattern
- Worry Worm Crochet Pattern
- Bobbery Paper Mario Crochet Pattern
- Rabbit Free Crochet Pattern
- Snoopy Crochet Pattern
How to create Snorlax Crochet Pattern

Snorlax, the lovable, oversized Pokémon, has captured the hearts of fans worldwide. Its sleepy, relaxed vibe makes it a perfect subject for crochet enthusiasts. If you’ve ever wanted to create your own plush Snorlax, this guide will walk you through the process step by step, from materials to finishing touches. Let’s dive into the world of Snorlax crochet!
Crochet your very own Snorlax! This pattern is perfect for beginners and uses basic stitches. You can customize the size by using different hook and yarn sizes.
Materials Needed
To replicate Snorlax’s iconic look, you’ll need yarn in these colors:
- Dark teal or navy blue (for the body).
- Cream or beige (for the belly and face).
Choose a medium-weight yarn for a balanced texture. Acrylic yarns are great for beginners, as they’re forgiving and budget-friendly.
A 4.0 mm or 4.5 mm crochet hook works well for medium-weight yarn. Adjust the hook size based on your tension or yarn thickness.
Additional Supplies:
- Polyester stuffing for a plush finish.
- Scissors and tapestry needles.
- Safety eyes (10–12 mm recommended).
- Stitch markers to keep track of rounds.
Getting Started with Snorlax Crochet
Before jumping into the pattern, ensure you’re comfortable with these stitches:
- Single Crochet (SC): The backbone of most amigurumi patterns.
- Magic Ring (MR): Essential for starting seamless rounds.
- Slip Stitch (SS): Perfect for joining rounds
- INC: Increase (2 SC in the same stitch)
- DEC: Decrease (SC 2 stitches together)
- SL ST: Slip Stitch
Tips for Beginners:
- Keep your tension consistent to avoid uneven shapes.
- Use stitch markers to track rounds, especially for the body.
- Practice crocheting simple shapes to build confidence.
Chart Instructions Snorlax Crochet Pattern
Next, Fanycrafts will introduce you to the chart instructions of each part of the Snorlax Crochet Pattern.

Body:
- MR: SC 6 in MR (6)
- R2: INC in each SC around (12)
- R3: INC, SC repeat around (18)
- R4: SC 2, INC repeat around (24)
- R5: SC 3, INC repeat around (30)
- R6: SC 4, INC repeat around (36)
- R7-15: SC 36 around
- R16: SC 3, DEC repeat around (30)
- R17: SC 2, DEC repeat around (24)
- R18: SC, DEC repeat around (18)
- R19: DEC around (9)
- Stuff the body firmly.
- R20: SL ST around to close.
Head:
- MR: SC 6 in MR (6)
- R2: INC in each SC around (12)
- R3: INC, SC repeat around (18)
- R4: SC 2, INC repeat around (24)
- R5: SC 3, INC repeat around (30)
- R6: SC 4, INC repeat around (36)
- R7: SC 5, INC repeat around (42)
- R8: SC 6, INC repeat around (48)
- R9: SC 7, INC repeat around (54)
- R10: SC 8, INC repeat around (60)
- R11-13: SC 60 around
- R14: SC 7, DEC repeat around (54)
- R15: SC 6, DEC repeat around (48)
- R16: SC 5, DEC repeat around (42)
- R17: SC 4, DEC repeat around (36)
- R18: SC 3, DEC repeat around (30)
- R19: SC 2, DEC repeat around (24)
- R20: SC, DEC repeat around (18)
- R21: DEC around (9)
- Stuff the head firmly.
- R22: SL ST around to close.
Assembly:
- Sew the head to the body.
- Embroider the eyes, nose, and mouth with black yarn.
- Add cheeks with pink yarn if desired.
Tips:
- Use a stitch marker to keep track of your rounds.
- Stuff the body and head firmly for a cuddly Snorlax.
- Use different yarn colors for the eyes and cheeks.
- Experiment with different sizes and colors to create your own unique Snorlax.
Stuff Snorlax firmly but not too tightly to maintain its shape. Double-check that all parts are securely attached. Finally, trim any loose ends for a polished finish. I hope you enjoy making your own Snorlax!
Conclusion
Creating a Snorlax crochet pattern is both fun and rewarding. By following these steps, you’ll have a cuddly Pokémon companion in no time. Remember, crochet is all about practice and creativity, so don’t hesitate to experiment and make your Snorlax unique!

