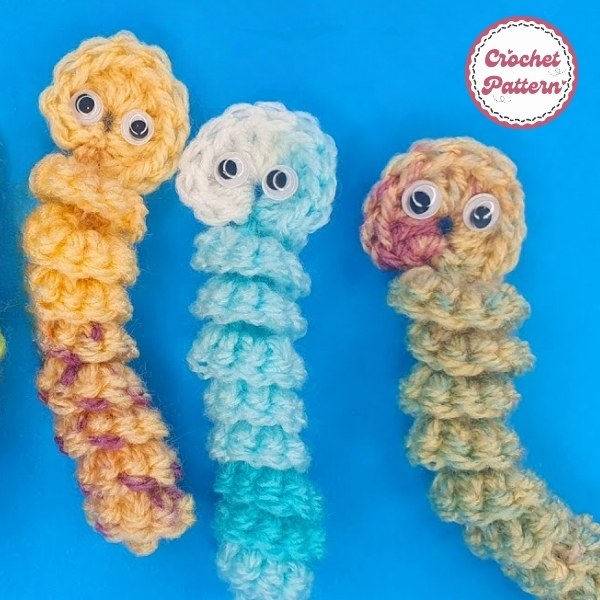
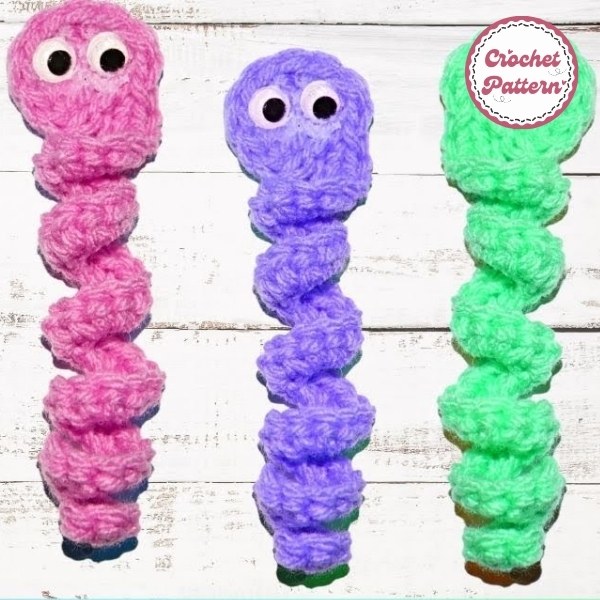
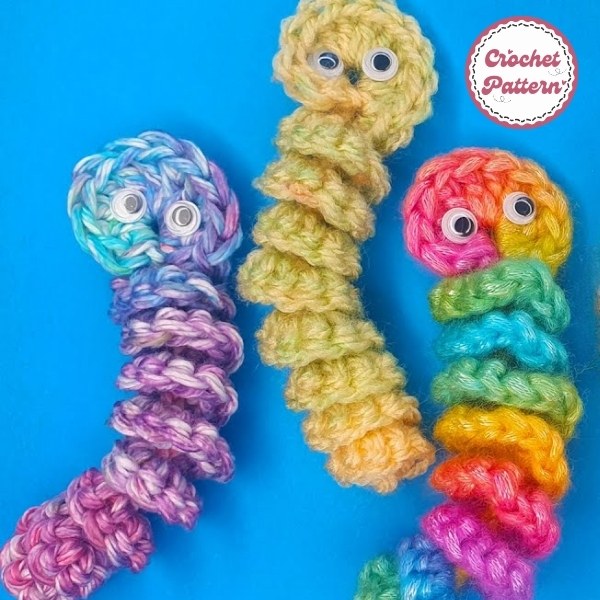
How to crochet a Worry Worm! Super cute and super quick to make. If you are looking for a detailed tutorial on how to make a Worry Worm Crochet Pattern, this is the ideal destination for you. This sad worm will bring you a lot of joy and it can become a great gift for children. Let’s start exploring how to crochet and information related to this Worry Worm Crochet Pattern with Fanycrafts!
How to create Worry Worm Crochet Pattern

Have you ever heard of a worry worm? These adorable, tiny crochet creations are more than just cute they’re comforting companions that can be slipped into a pocket or gifted to someone in need of a little cheer. Whether you’re a crochet enthusiast or a beginner looking for a fun project, creating a worry worm is both rewarding and simple. Let’s dive into the step-by-step guide on how to make your very own worry worm crochet pattern!
Materials Needed
Before starting, gather all the necessary supplies. Here’s what you’ll need:
- Yarn Types and Colors: Choose soft, colorful yarn like acrylic or cotton. Bright shades make the worms cheerful!
- Crochet Hooks: A size 2.5 mm or 3.0 mm hook works best for small worry worms.
- Additional Supplies: You’ll need scissors, a yarn needle for weaving in ends, and optional items like googly eyes or embroidery thread for decoration.
- Tapestry needle
- Scissors
- Googly eyes (optional)
- Embroidery floss (optional)
Basic crochet stitches such as single crochet (sc), double crochet (dc), and slip stitch (sl st) are essential for this project. Familiarize yourself with these before starting. For a smooth experience, select a hook size that pairs well with your yarn thickness.
Worry Worm Crochet Pattern is one of our Amigurumi. We also have other patterns. Check for extra inspiration.
- Bobbery Paper Mario Crochet Pattern
- Rabbit Free Crochet Pattern
- Snoopy Crochet Pattern
- Bluey Crochet Pattern
- Baby Bunny Crochet Pattern
- Mini Santa Claus Crochet Pattern
Chart Instructions Worry Worm Crochet Pattern

Here is the chart instructions Worry Worm Crochet Pattern detailing each part and then you will put them together to form a complete Worm.
Head:
- Make a magic ring or slip knot.
- Chain 2 (does not count as a stitch).
- Single crochet 6 stitches into the ring.
- Slip stitch into the first single crochet to close the round.
- Chain 2 (does not count as a stitch).
- Single crochet 2 stitches into each stitch around. (12 stitches total)
- Slip stitch into the first single crochet to close the round.
- Stuff the head lightly if desired.
- Fasten off, leaving a long tail for sewing.
Body:
- With a smaller hook size (to create a curly effect), chain 30-40 stitches.
- Slip stitch into the second chain from your hook.
- Single crochet 4 stitches into each chain until you have one chain remaining.
- Into the last chain, work 10 double crochet stitches.
- Slip stitch into the same chain, chain 1, cut your yarn and pull it through the chain you just made. Pull it tight and then weave in your ends.
Finishing Touches:
- Sew the head to the body using the long tail from the head.
- Add googly eyes or embroider eyes with black embroidery floss.
- Weave in any remaining ends.
Your worry worm is now complete! You can customize it by adding different colors, patterns, or accessories. Enjoy!
Tips:
- If you want a longer or shorter worm, adjust the number of chains in step 2.
- For a more textured look, try using different stitch patterns for the body.
- You can add a pom-pom or a small bell to the end of the worm for extra fun.
Once you’ve mastered the worry worm, consider tackling other fun crochet patterns like flowers, animals, or even mini dolls. Joining online crochet groups can also inspire new projects and techniques.
Conclusion
Creating a worry worm crochet pattern is more than just a craft project; it’s a meaningful way to spread joy and positivity. With a little yarn, a hook, and your creativity, you can make something truly special. So why not give it a try today?

