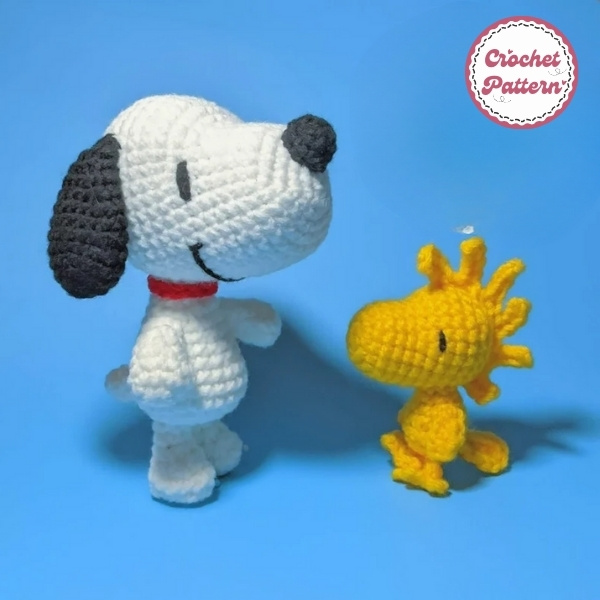
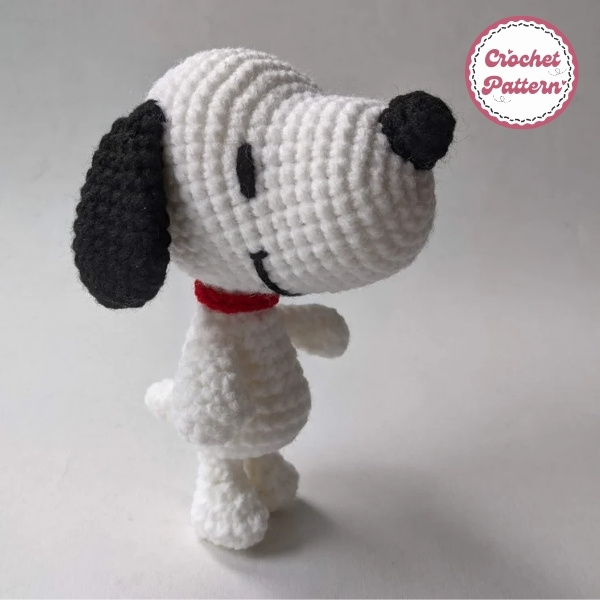
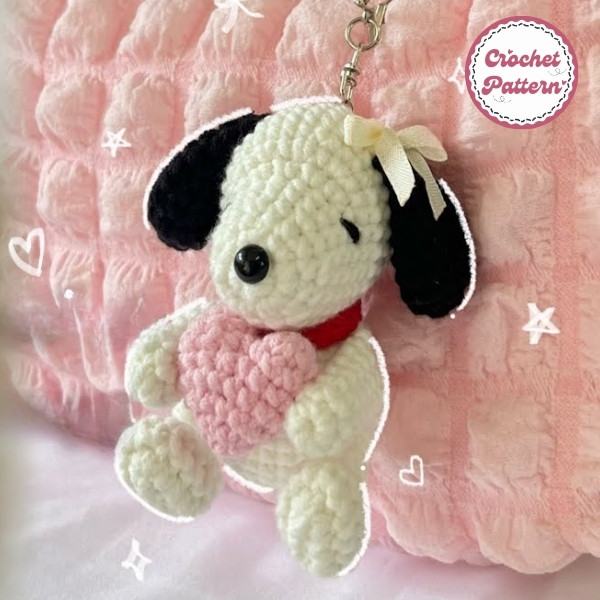
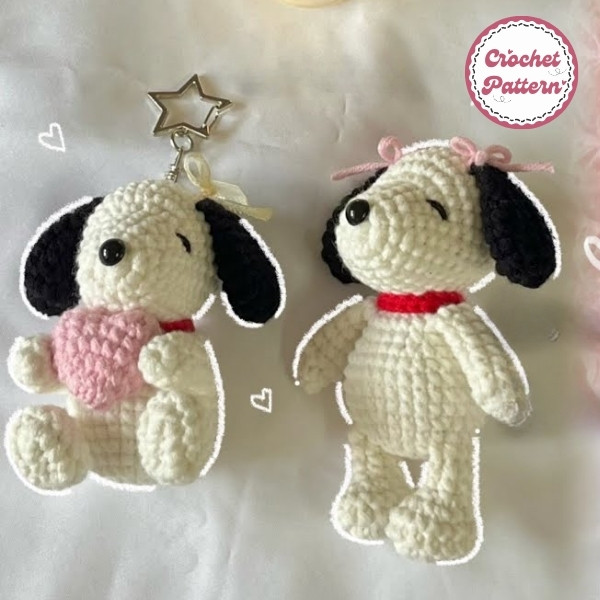
Creating a cute Snoopy Crochet Pattern is a delightful challenge for crafters of all skill levels. Whether you’re a beginner or an experienced crocheter, this guide will walk you through the entire process of creating a charming Snoopy amigurumi doll. From choosing the right materials to assembling the final piece, every step will be detailed to help you achieve the perfect crochet Snoopy.
Introduction about Snoppy

Snoopy is a famous fictional character from the Peanuts comic strip, created by Charles M. Schulz. He is a white beagle dog who belongs to Charlie Brown, the main character. Snoopy is known for his imaginative and sometimes humorous adventures, often imagining himself as a World War I flying ace, among other personas.
He is also recognized for his close relationship with his bird friend Woodstock, and his iconic doghouse, where he often has philosophical thoughts and engages in playful antics. Snoopy is one of the most beloved and recognizable characters in pop culture.
Snoopy is a beloved cartoon character created by Charles M. Schulz for the comic strip “Peanuts.” He is Charlie Brown’s pet dog, a beagle with a rich fantasy life. Snoopy is known for his imaginative adventures, often portraying himself as a World War I flying ace, a writer, a lawyer, and more.
How to create Snoopy Crochet Pattern

Before you dive into crocheting, you need to gather the right materials to ensure your project goes smoothly. Here’s a list of everything you’ll need:
- Yarn: Choose a soft, medium-weight yarn (size 4) for the best results. White will be the primary color for Snoopy’s body, with black for the ears and eyes, and a touch of brown for the collar (if desired).
- Crochet Hook: A size G-6 (4.0mm) crochet hook should work well for this project.
- Stuffing: Polyester fiberfill is the best stuffing option for amigurumi. It’s lightweight and easy to work with.
- Other Supplies: You’ll need a yarn needle for sewing pieces together, stitch markers to keep track of your rows, and small black buttons or embroidery thread for the eyes and nose.
Crocheting a Snoopy amigurumi requires a few basic crochet stitches. Don’t worry if you’re new to these—they’re easy to learn and will be used throughout the pattern.
- Single Crochet (sc): This is the most common stitch used in amigurumi. It’s simple and creates a tight fabric.
- Slip Stitch (sl st): Used to join pieces or move the yarn into a different stitch.
- Magic Ring: This is the starting point for creating the round shapes of your amigurumi pieces. It helps form a tight, seamless base.
- Increase and Decrease: These techniques are used to shape the body and head of your Snoopy, creating smooth curves.
Chart Instructions Snoopy Crochet Pattern

Head:
- MR, 6 SC in MR (6)
- 2 SC in each SC around (12)
- 1 SC, INC repeat 6 times (18)
- 2 SC, INC repeat 6 times (24)
- 3 SC, INC repeat 6 times (30)
- 4 SC, INC repeat 6 times (36)
- 5 SC, INC repeat 6 times (42) 8-10. 42 SC
- 5 SC, DEC repeat 6 times (36)
- 4 SC, DEC repeat 6 times (30)
- 3 SC, DEC repeat 6 times (24)
- 2 SC, DEC repeat 6 times (18)
- 1 SC, DEC repeat 6 times (12)
- 6 SC, fasten off, leaving a long tail for sewing.
Ears (make 2):
- MR, 6 SC in MR (6)
- 2 SC in each SC around (12)
- 3 SC in each SC around (36) 4-5. 36 SC
- 3 SC, DEC repeat 12 times (24)
- 2 SC, DEC repeat 6 times (18)
- 1 SC, DEC repeat 6 times (12)
- 6 SC, fasten off, leaving a long tail for sewing.
Nose:
- MR, 6 SC in MR (6)
- 2 SC in each SC around (12)
- 3 SC in each SC around (36)
- Stuff lightly.
- 3 SC, DEC repeat 12 times (24)
- 2 SC, DEC repeat 6 times (18)
- 1 SC, DEC repeat 6 times (12)
- 6 SC, fasten off, leaving a long tail for sewing.
Eyes (make 2):
- MR, 6 SC in MR (6)
- 2 SC in each SC around (12)
- 3 SC in each SC around (36)
- 3 SC, DEC repeat 12 times (24)
- 2 SC, DEC repeat 6 times (18)
- 1 SC, DEC repeat 6 times (12)
- 6 SC, fasten off, leaving a long tail for sewing.
Mouth: Embroider a simple curved line with black yarn.
Body:
- MR, 6 SC in MR (6)
- 2 SC in each SC around (12)
- 1 SC, INC repeat 6 times (18)
- 2 SC, INC repeat 6 times (24)
- 3 SC, INC repeat 6 times (30)
- 4 SC, INC repeat 6 times (36) 7-11. 36 SC
- 4 SC, DEC repeat 6 times (30)
- 3 SC, DEC repeat 6 times (24)
- 2 SC, DEC repeat 6 times (18)
- 1 SC, DEC repeat 6 times (12)
- 6 SC, fasten off, leaving a long tail for sewing.
Arms (make 2):
- MR, 6 SC in MR (6)
- 2 SC in each SC around (12)
- 1 SC, INC repeat 6 times (18)
- 2 SC, INC repeat 6 times (24)
- 3 SC, INC repeat 6 times (30) 6-7. 30 SC
- 3 SC, DEC repeat 6 times (24)
- 2 SC, DEC repeat 6 times (18)
- 1 SC, DEC repeat 6 times (12)
- 6 SC, fasten off, leaving a long tail for sewing.
Legs (make 2):
- MR, 6 SC in MR (6)
- 2 SC in each SC around (12)
- 1 SC, INC repeat 6 times (18)
- 2 SC, INC repeat 6 times (24) 5-6. 24 SC
- 2 SC, DEC repeat 6 times (18)
- 1 SC, DEC repeat 6 times (12)
- 6 SC, fasten off, leaving a long tail for sewing.
Assembly:
- Sew the ears to the head.
- Sew the nose and eyes to the head.
- Sew the arms and legs to the body.
- Sew the head to the body.
- Stuff the body, head, arms, and legs with fiberfill.
- Sew the mouth.
Additional Tips:
- Use a stitch marker to keep track of your rounds.
- Don’t stuff the head too tightly, as it may distort the shape of the eyes and nose.
- For a more realistic look, you can add details like whiskers and eyebrows with embroidery floss.
Crocheting an amigurumi character like Snoopy comes with its challenges. Here are a few tips to help:
- Crochet Tension: If your stitches are too tight, the pieces will be hard to assemble. If too loose, the fabric might not hold its shape. Practice to find a comfortable tension.
- Fixing Mistakes: If you notice a mistake, don’t be afraid to undo a few stitches and fix it. It’s all part of the process!
Once you’ve mastered the basic Snoopy crochet pattern, you can experiment with variations. Try changing his expression or adding accessories like a Santa hat for the holidays. You could even make him in different colors to create a special version for a friend!
Conclusion
Creating a Snoopy crochet pattern from scratch is a rewarding experience that allows you to bring your own unique touch to this beloved character. Whether you’re making Snoopy for yourself, as a gift, or to add to your collection, the process is sure to be enjoyable and fulfilling. Would you like to try another crochet pattern? Perhaps a Bluey Crochet Pattern or a Baby Bunny Crochet Pattern? Let me know!

